A Comprehensive Guide to Setting Up Your Own Gaming PC

Gaming has evolved from being a mere pastime to a passionate hobby, and for many enthusiasts, having a custom-built gaming PC is the ultimate dream. Building your own gaming rig not only offers customization options but also ensures that you get the performance you desire without breaking the bank. In this guide, we’ll walk you through the step-by-step process of setting up your own gaming PC.
1. Define Your Budget and Requirements:
Before diving into the world of PC components, it’s essential to establish your budget and gaming requirements. Determine the type of games you’ll be playing, whether you prefer high-resolution AAA titles or competitive eSports games. This will help you prioritize components and allocate your budget efficiently.
2. Choose Your Components:
a. Processor (CPU): Select a CPU that offers the right balance of performance and affordability. Consider options from Intel or AMD, keeping in mind factors like core count, clock speed, and overclocking capabilities.
b. Graphics Card (GPU): The GPU is the heart of your gaming PC, responsible for rendering graphics. Choose a graphics card that can handle your desired gaming resolution and settings. Look for models from NVIDIA or AMD based on your budget and performance requirements.
c. Memory (RAM): Opt for at least 8GB of RAM for smooth gaming performance. Consider higher capacities if you plan on multitasking or playing memory-intensive games.
d. Storage: Invest in an SSD (Solid State Drive) for fast boot times and game loading speeds. Pair it with a larger HDD (Hard Disk Drive) for additional storage capacity.
e. Motherboard: Choose a motherboard that’s compatible with your selected CPU and offers features like ample PCIe slots, USB ports, and overclocking support.
f. Power Supply (PSU): Select a high-quality power supply unit with sufficient wattage to power your components reliably. Consider factors like efficiency rating and modular design for easier cable management.
g. Case: Choose a PC case that fits your components and offers adequate airflow for cooling. Consider factors like cable management options and aesthetics.
3. Assemble Your Components:
Once you’ve gathered all your components, it’s time to assemble your gaming PC. Follow these basic steps:
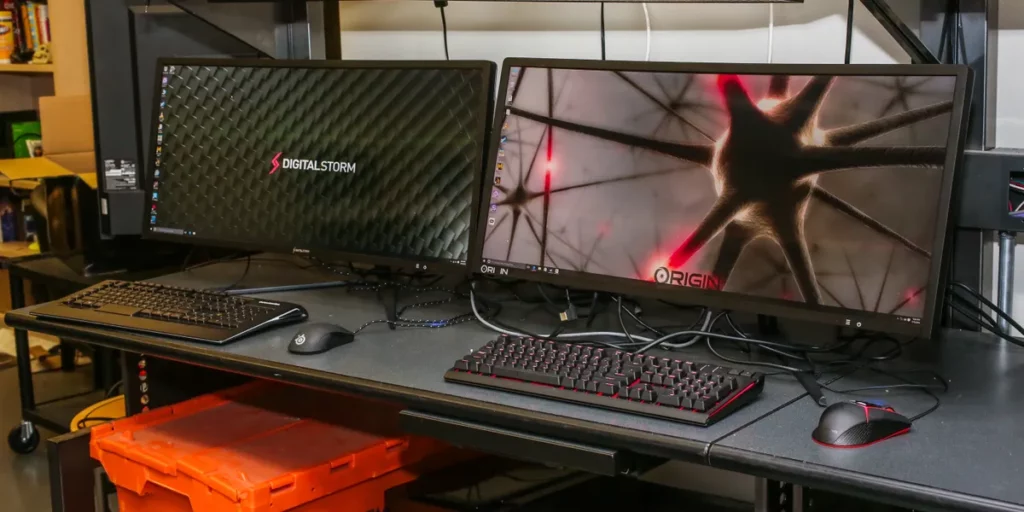
a. Install the CPU onto the motherboard, applying thermal paste if necessary. b. Install the RAM modules into the appropriate slots on the motherboard. c. Install the GPU into the PCIe slot on the motherboard and secure it with screws. d. Mount the motherboard into the PC case and connect power cables, front panel connectors, and other peripherals. e. Install the SSD and HDD into their respective drive bays and connect SATA cables. f. Install the power supply unit into the case and connect power cables to the motherboard, GPU, drives, and other components. g. Cable manage your components to improve airflow and aesthetics. h. Close the PC case and connect peripherals such as monitor, keyboard, and mouse.
4. Install Operating System and Drivers:
Once your gaming PC is assembled, it’s time to install the operating system and drivers. Follow these steps:
a. Insert the installation media (USB or DVD) for your chosen operating system (e.g., Windows 10) and boot from it. b. Follow the on-screen instructions to install the operating system, selecting your preferred language, time zone, and partition settings. c. After the OS installation is complete, install drivers for your motherboard, GPU, and other components using the included discs or downloading them from the manufacturers’ websites. d. Install essential software such as web browsers, gaming platforms (e.g., Steam, Origin), and system utilities.
5. Optimize Your Gaming Experience:
a. Adjust in-game settings to optimize performance and visual quality. b. Install gaming peripherals such as gaming mice, keyboards, and headsets for a more immersive experience. c. Install overclocking software to fine-tune your CPU and GPU settings for improved performance. d. Consider installing additional cooling solutions such as aftermarket CPU coolers or case fans to maintain optimal temperatures during gaming sessions.
6. Enjoy Your Gaming PC:
With your gaming PC set up and optimized, it’s time to enjoy your favorite games. Whether you’re immersing yourself in the latest AAA titles or competing in intense eSports matches, your custom-built gaming rig is sure to deliver an exceptional gaming experience.
In conclusion, setting up your own gaming PC allows you to tailor your system to your specific needs and preferences while providing a sense of accomplishment and pride. By following this comprehensive guide, you’ll be wel